Preparing Your Chicken
If you're wondering how to roast a 6-pound chicken, the first step is to prepare the bird. This involves removing the giblets and patting the chicken dry. I always save the giblets for making gravy or chicken stock later. After removing the giblets, I like to rinse the chicken inside and out with cold water. Once the bird is rinsed, I pat it dry with paper towels. It's important to ensure the chicken is as dry as possible before roasting, as this helps the skin become crispy and golden brown.
Next, I usually season the inside of the chicken with salt and pepper. This not only seasons the meat but also helps the bird cook more evenly. I also like to stuff the cavity with aromatics like lemon, garlic, and fresh herbs. These add a wonderful flavor to the chicken and help keep it moist during roasting. Remember, the goal is to have a deliciously seasoned and moist chicken, so don't skimp on the aromatics.
Choosing the Right Roasting Pan and Rack
Choosing the right roasting pan and rack is crucial to roasting a 6-pound chicken. I prefer a heavy-duty roasting pan with a rack. The rack lifts the chicken off the bottom of the pan, allowing heat to circulate evenly around the bird. This results in a chicken that is evenly browned and crispy all over. A heavy-duty pan is also important, as it can withstand the high oven temperatures required for roasting.
Additionally, a pan with high sides is beneficial to prevent any juices or fats from spilling over into the oven. These juices can be used later to make a delicious gravy. Be sure to choose a pan that is big enough to comfortably fit your chicken, but not so big that the juices spread out and burn in the pan.
Seasoning and Trussing Your Chicken
Once the chicken is prepared and the pan is ready, it's time to season and truss the bird. I like to generously rub the chicken all over with softened butter, then season it with salt and pepper. The butter not only adds flavor but also helps the skin become beautifully browned and crispy.
Trussing is the process of tying the chicken's legs together and tucking the wings under the body. This helps the chicken cook more evenly and keeps it from drying out. To truss the chicken, I use kitchen twine to tie the legs together, then tuck the wing tips under the body of the chicken. This also gives the chicken a neat, compact shape which helps it cook more evenly and makes for a more attractive presentation.
The Roasting Process
Now that the chicken is prepared, it's time to roast it. I prefer to roast my chicken at a high temperature for the first few minutes to brown the skin, then reduce the heat to finish cooking. I usually start by roasting the chicken in a preheated 450°F (230°C) oven for 15 minutes. Then I reduce the heat to 350°F (175°C) and continue roasting until the chicken is fully cooked.
How do you know when the chicken is done? The best way is to use a meat thermometer. The chicken is done when the internal temperature reaches 165°F (74°C) when inserted into the thickest part of the thigh, not touching the bone. If you don't have a meat thermometer, another way to check is to pierce the chicken with a fork. If the juices run clear, the chicken is done.
Resting and Serving the Chicken
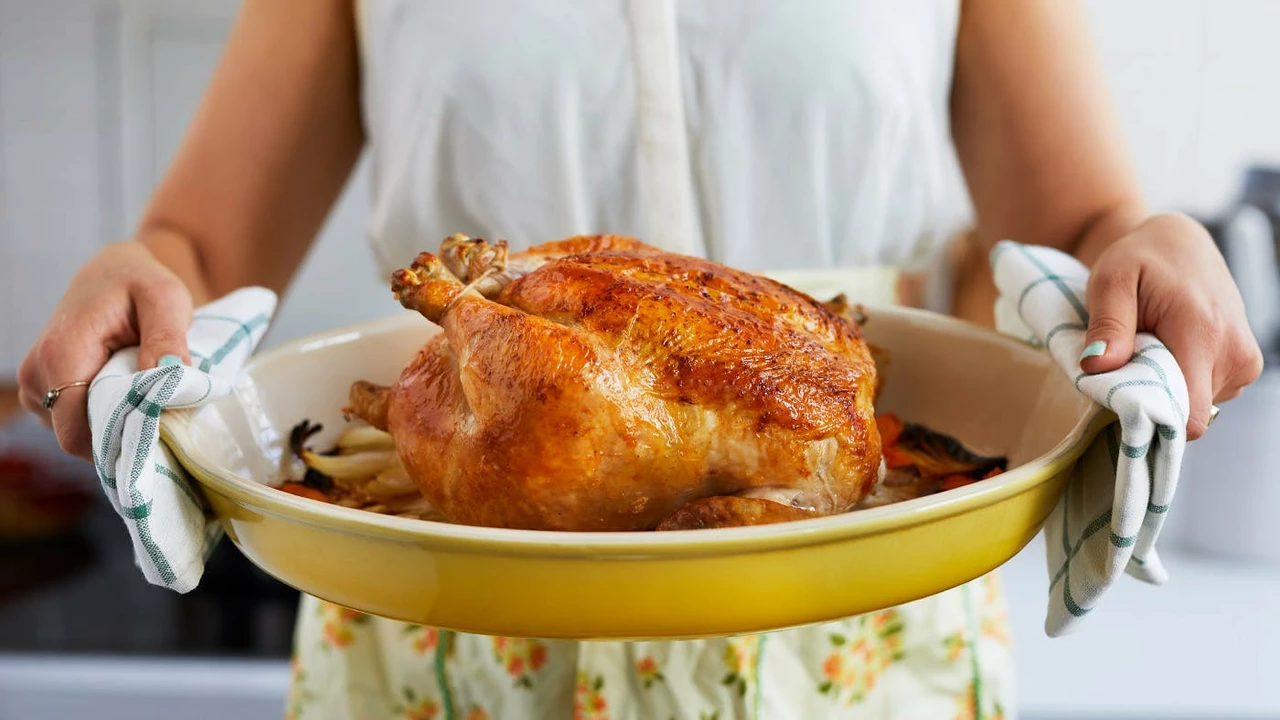
Once the chicken is cooked, it's important to let it rest before carving and serving. Resting allows the juices to redistribute throughout the meat, resulting in a more juicy and flavorful chicken. I like to let my chicken rest for at least 15-20 minutes before carving.
When it's time to serve, remember to remove the aromatics from the cavity and discard them. Then carve the chicken into sections - breast, wings, thighs, and drumsticks. I usually serve my roast chicken with the pan juices on the side, or make a quick gravy from the pan drippings. Pair with your favorite side dishes, and enjoy!


